



Conturi de facturare
Contul de facturare poartă identitatea care emite facturile dumneavoastră (date de contact, numerotare) și mijloacele de plată propuse utilizatorilor. Creați mai multe conturi dacă organizația dumneavoastră facturează din mai multe entități.
- Crearea unui cont de facturare
- Personalizarea numerotării facturilor
- Acceptarea plăților online
- Încasarea pe un terminal de plată
- Propunerea plății la fața locului, prin transfer bancar sau prin cec
- Autorizarea plății în mai multe rate
- Pregătirea exporturilor contabile
- Regăsirea documentelor de audit ale contului
- Reglarea notificărilor prin e-mail
- Duplicarea sau ștergerea unui cont
Crearea unui cont de facturare
- Accesați Administrare›Setări›Facturare›Conturi de facturare.
- Faceți clic pe Nou.
- În fila Facturare, introduceți denumirea contului, apoi datele de facturare: denumirea juridică, adresa, țara, telefonul și codul de TVA. Aceste informații apar pe facturi și la momentul plății.
- Completați e-mailul de facturare: acesta primește notificările legate de cont (comenzi noi, plăți primite, alerte tehnice). Puteți alege notificările dorite și puteți adăuga până la 4 adrese destinatare.
- Faceți clic pe Salvează.

Alegerea contului implicit
Un singur cont pe organizație este marcat ca principal: el este folosit pentru comenzile noi (coș, casă de marcat, înregistrări) și pentru abonamente atunci când niciun cont nu este selectat în mod explicit.
- Deschideți contul dorit.
- Activați opțiunea Cont de bază, apoi faceți clic pe Salvează: opțiunea este retrasă automat de la contul principal anterior.
Personalizarea numerotării facturilor
Fiecare cont își numerotează facturile în mod continuu, în formatul AAAA-NNNNNN. Un sufix opțional permite deosebirea documentelor emise de mai multe conturi.
- În fila Facturare, identificați opțiunea Sufix de numerotare a facturilor.
- Introduceți până la 8 litere sau cifre: numărul următor se afișează imediat în previzualizare.
Acceptarea plăților online
- Deschideți fila Plăți a contului.
- Activați Plăți online, apoi selectați passerela dumneavoastră de plată: Stripe, HelloAsso, SumUp, Verifone, PayPal sau, pentru o regie de încasări a unei colectivități, PayFiP.
- Conectați-vă contul: în funcție de passerelă, un buton de conectare vă ghidează în câteva clicuri sau trebuie să introduceți identificatorii furnizați de passerelă.
- Faceți clic pe Salvează, apoi folosiți Testează conexiunea pentru a verifica dacă passerela răspunde corect.

În caz de îndoială cu privire la o plată, opțiunea Jurnal de evenimente afișează răspunsurile de plată primite de la passerelă și motivul eventualelor eșecuri.
Încasarea pe un terminal de plată
Trimiteți o încasare direct pe un terminal de plată din detaliul unei comenzi.
- În fila Plăți, activați Terminal de plată.
- Conectați-vă contul SumUp. Dacă SumUp este deja gateway-ul dumneavoastră de plată online, conexiunea sa este reutilizată.
- Salvați contul, apoi faceți clic pe Adaugă un terminal pentru a asocia dispozitivul dumneavoastră.
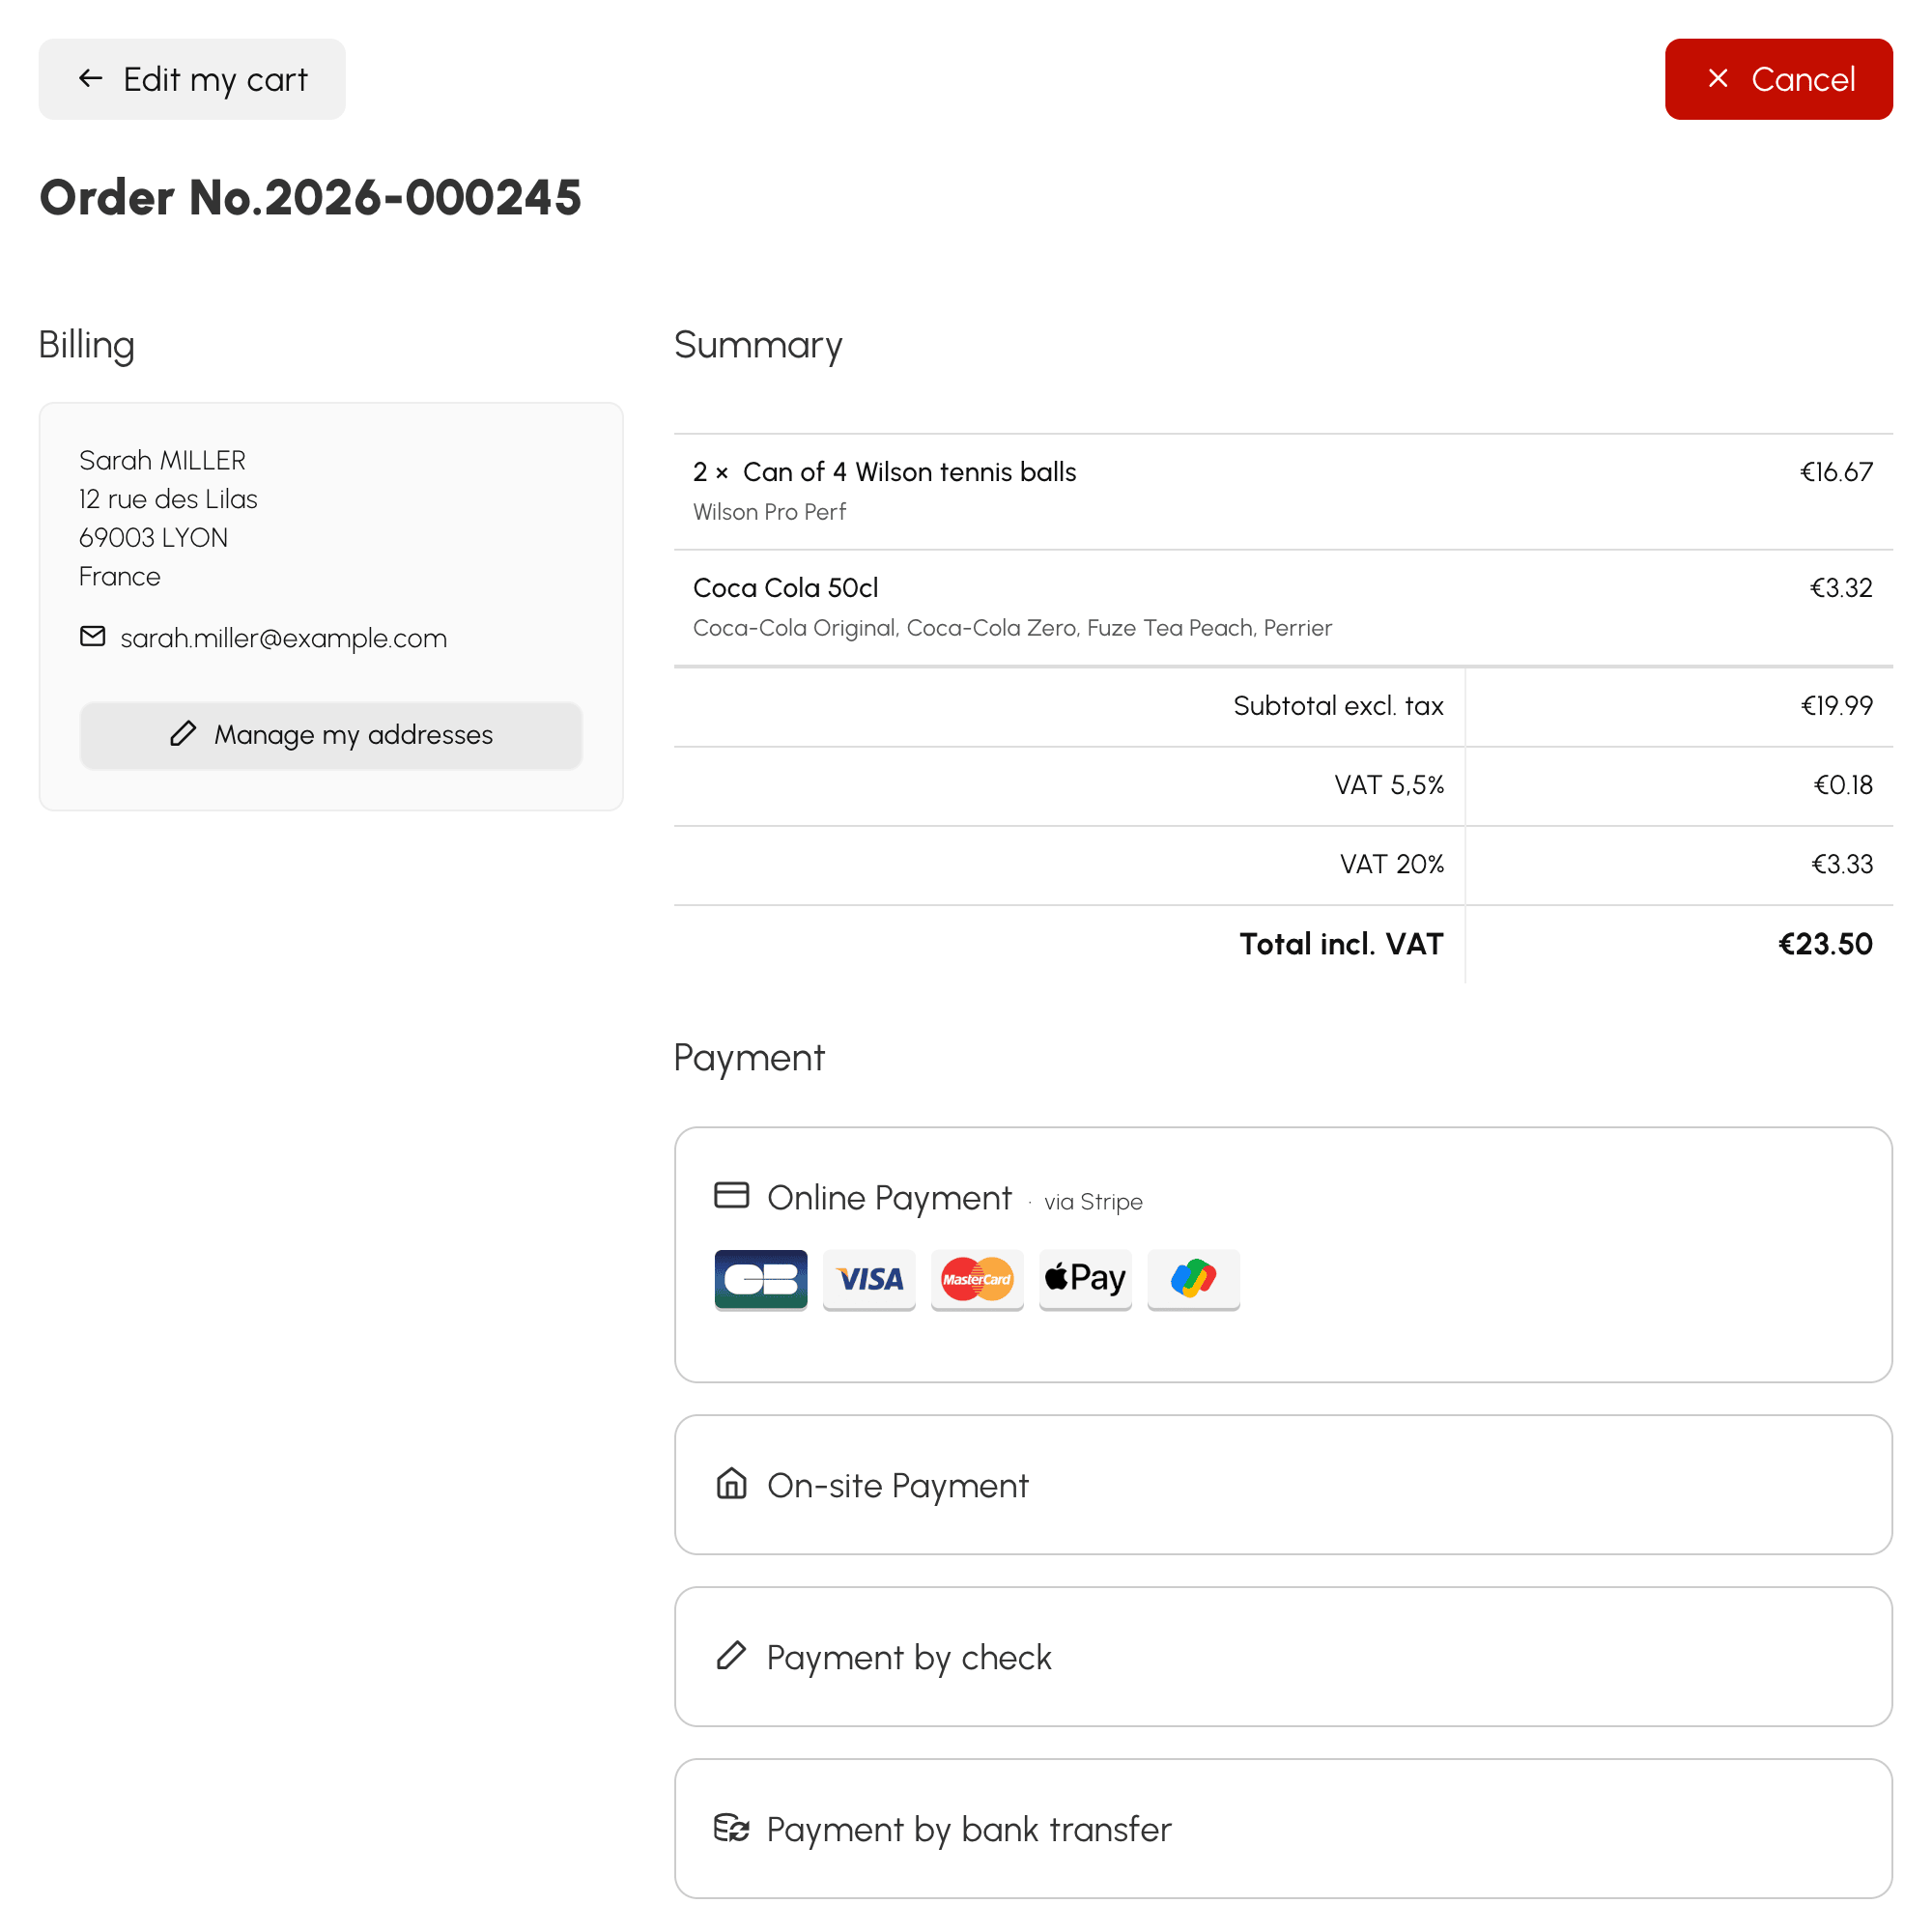
Propunerea plății la fața locului, prin transfer bancar sau prin cec
Trei moduri de plată amânată pot fi activate în fila Plăți:
- Plăți la fața locului: utilizatorul este invitat să vină să își achite comanda direct la recepția organizației.
- Plăți prin transfer bancar: datele dumneavoastră bancare (IBAN, BIC) sunt afișate utilizatorului, împreună cu numărul facturii ca referință.
- Plăți prin cec: cecul trebuie completat pe numele contului de facturare și trimis la adresa acestuia.

Autorizarea plății în mai multe rate
În fila Plăți, activați Permite plățile parțiale, apoi setați Interval între termenele limită (zi/zile, săptămână/săptămâni, lună/luni). Numărul maxim de rate se definește apoi pentru fiecare produs în parte.
Pregătirea exporturilor contabile
Planul de conturi al contului — conturi de vânzări, de TVA, de trezorerie și coduri de jurnale — se setează în fila Plan contabil. El determină înregistrările contabile produse de exporturile contabile și condiționează factura electronică.
Regăsirea documentelor de audit ale contului
Fila Contabilitate și audit reunește ceea ce un control fiscal vă poate solicita: Atestat software casă de marcat de descărcat și de semnat, Jurnal de evenimente care urmărește conexiunile, modificările de configurare și anomaliile, Închideri care sigilează fiecare zi, lună și an, precum și Arhive lunare verificabile.
Aceste documente sunt specifice fiecărui cont de facturare, iar fila apare doar pentru un cont deja salvat.
Reglarea notificărilor prin e-mail
Fiecare cont de facturare anunță prin e-mail evenimentele care îl privesc. Accesați Administrare›Setări›Facturare›Conturi de facturare, deschideți contul dorit, apoi identificați blocul Notificări prin e-mail din fila Facturare.
Această setare este valabilă doar pentru acest cont: două conturi ale aceleiași organizații pot deci alerta persoane diferite.
Alegerea notificărilor primite
Sub Notificări de primit, patru categorii se bifează independent:
- Crearea unei comenzi — o comandă tocmai a fost înregistrată, cu bonul de comandă atașat;
- Plată primită — a fost primită o plată, online sau introdusă manual; atașamentul este bonul de comandă dacă soldul rămâne de plată, sau factura dacă comanda este achitată integral;
- Rambursare — a fost efectuată o rambursare totală sau parțială, indiferent de originea acesteia;
- Eșec la plată (alertă tehnică) — o plată online nu a reușit.
Debifați-le pe cele care nu vă sunt utile. Ultima este de altă natură decât primele trei: ea nu relatează o vânzare, ci semnalează un incident, iar adesea este singura care merită păstrată atunci când se reduce restul.

Desemnarea destinatarilor
Câmpul Adresele destinatarilor (una pe linie, maximum 4) acceptă până la patru adrese. Fiecare notificare pleacă într-un singur e-mail adresat tuturor.
Lăsat gol, el revine la e-mailul de facturare al contului. Acesta este comportamentul de reținut dacă o singură persoană urmărește vânzările: este suficient să completați adresa contului, nu mai trebuie recopiată aici.
Dezactivarea completă
Comutatorul blocului oprește toate notificările acestui cont. Niciun e-mail nu mai pleacă, indiferent de categorie.
Duplicarea sau ștergerea unui cont
Deschideți contul: butoanele de duplicare și de ștergere se află în partea de sus a panoului.
