

Accept payments with SumUp
SumUp is an online payment solution with no subscription or commitment, widely used by organizations and local businesses. Your users pay by bank card, Apple Pay or Google Pay on a secure payment page, and the funds are transferred to your bank account.
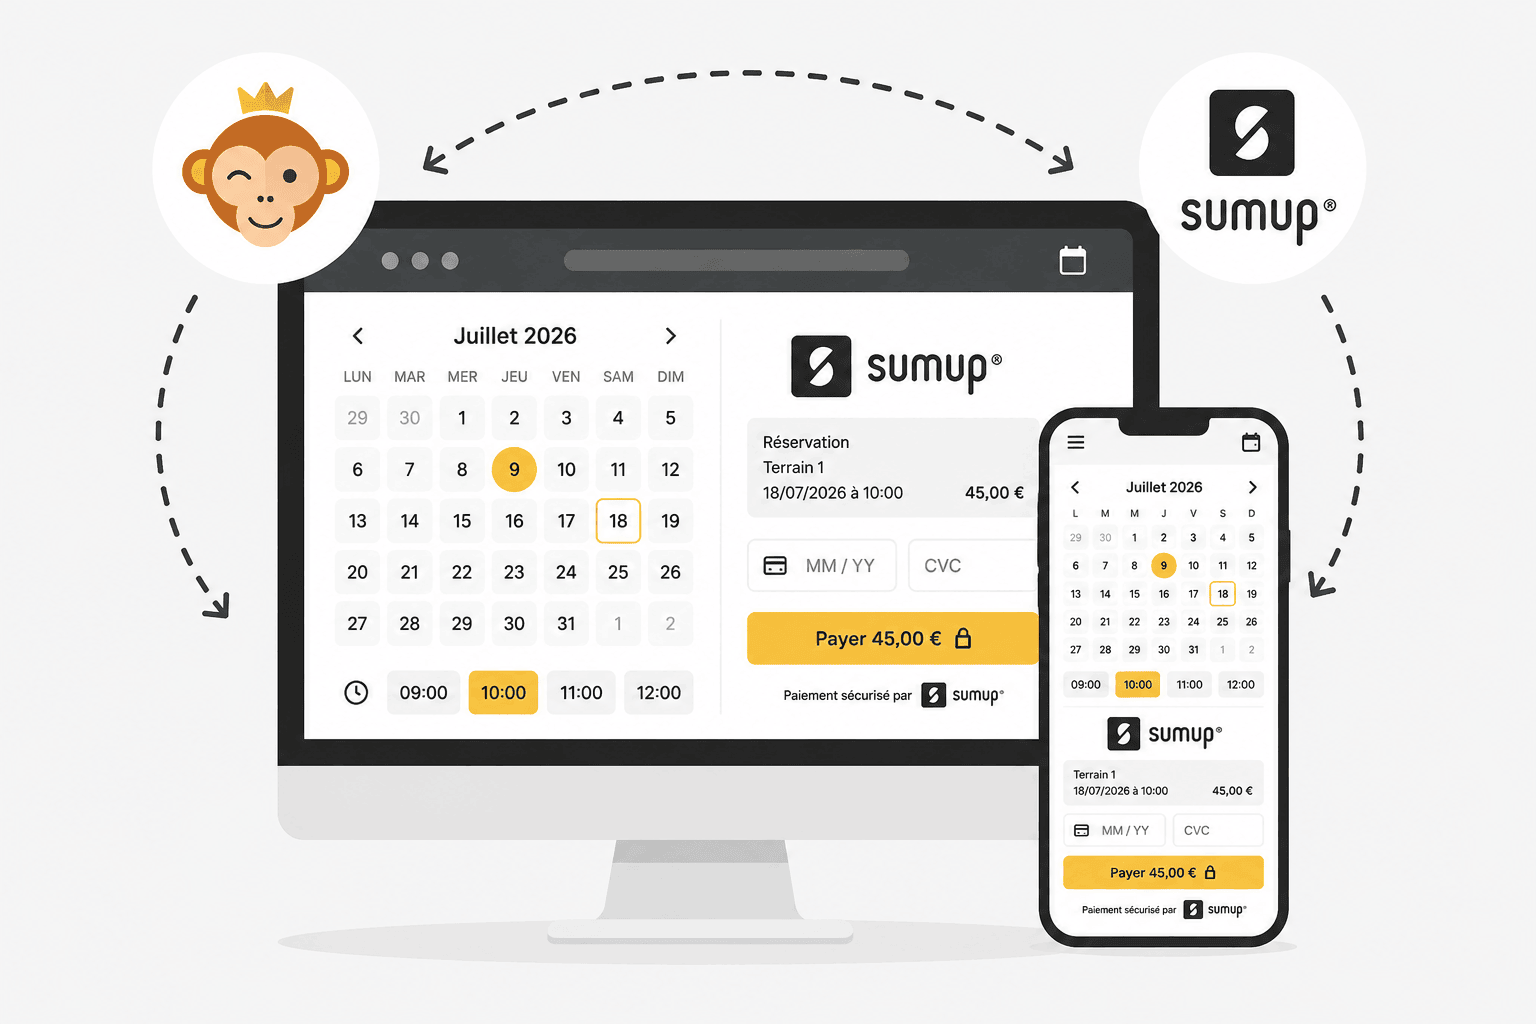
Prerequisites
A SumUp business account in your organization's name (to be created if you do not have one yet).
Connecting your SumUp account
- Go to Administration›Settings›Billing›Billing Accounts, open the relevant billing account and go to the Payments tab.
- Enable Online Payments and select SumUp from the list of gateways. If you do not have an account yet, click Create a SumUp account.
- Click Save: the connection button then appears on the page.
- Click Connect my SumUp account. A new tab opens on a secure SumUp page where you can sign in and authorize the connection.
- Back on this page, the account appears as connected. Use Test the connection to check that everything works.
An Online Help link directly in the form details the pricing and the connection steps.
Understanding payment on the user's side
When paying, the user chooses Online Payment and is then redirected to a secure SumUp payment page. Bank card, Apple Pay and Google Pay are offered there automatically depending on their device, with no additional setting on your side.
Accept payments with a POS terminal
SumUp also offers physical POS terminals to take payments directly at the counter, in particular from the Administration›Dashboard›Billing›Cash Register. Only SumUp Solo terminals can be linked: the brand's other models do not have the remote pairing function required.
- Go to Administration›Settings›Billing›Billing Accounts, open the relevant billing account and go to the Payments tab.
- Enable the POS terminal section.
- Click Connect my SumUp account to link your terminals to your SumUp account.
- On the terminal, connect to a Wi-Fi network, then open its settings and go to the Connections → API menu: a pairing code appears on the screen.
- Return to your billing account, click Add a terminal, give it a name (for example "Reception") and enter the code shown on the terminal.
Once a terminal is paired, choose the CB on site mode when taking a payment (cash register or order details): the list of available terminals appears, and the payment is sent directly to it.
